December 15, 2023 3 min read

Elevate Your Space: A Guide to Applying Resin Art on Walls

Introduction:

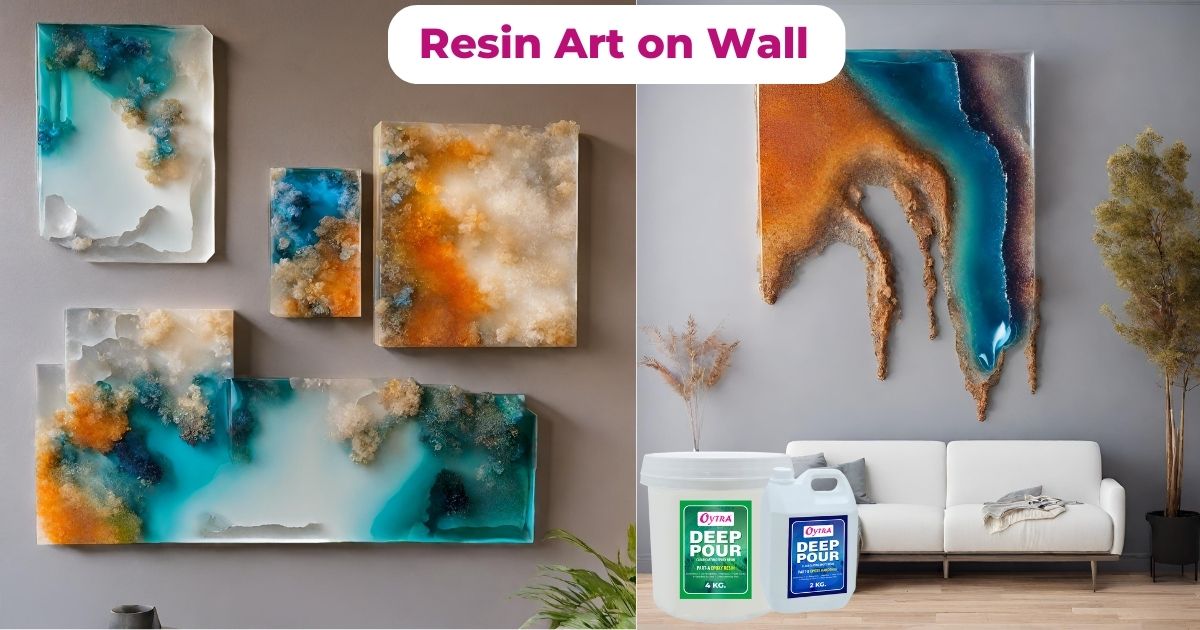
Resin art has taken the creative world by storm, offering a unique and captivating way to transform spaces. While resin is often associated with canvas or countertops, applying resin directly to walls requires a slightly different approach. In this guide, we'll explore two methods to bring the mesmerizing beauty of resin art to your walls – incorporating fillers like silica gel or creating your masterpiece on a sturdy MDF board.

Method 1: Adding Fillers for Wall Application

Resin, in its raw form, may not adhere well to walls due to its liquid nature. To overcome this challenge, adding fillers like silica gel to the resin mixture becomes essential. Here's a step-by-step guide to applying resin art on your walls using this method:

  1. Gather Your Materials:

    • Resin
    • Silica gel or other suitable fillers
    • Mixing cups and stirrers
    • Painter's tape
    • Drop cloths or plastic sheets
  2. Prepare Your Wall:

    • Clean the wall surface thoroughly to ensure proper adhesion.
    • Use painter's tape to create a border or design if desired.
    • Cover the surrounding area with drop cloths or plastic sheets to protect floors and furniture.
  3. Mix the Resin:

    • Follow the instructions on your resin kit to mix the resin and the filler. Silica gel can be added gradually until the desired viscosity is achieved.
  4. Apply the Resin:

    • Use a brush, roller, or spatula to apply the resin mixture evenly on the wall.
    • Work in small sections to prevent the resin from drying too quickly.
  5. Create Your Design:

    • This is your chance to let your creativity shine. Experiment with colors, textures, and patterns as the resin begins to take shape.
  6. Allow for Drying:

    • Follow the recommended drying time provided by the resin manufacturer.
    • Keep the area dust-free during the drying process.

Method 2: Creating on MDF Board

An alternative approach to applying resin on walls is to create your artwork on a Medium-Density Fiberboard (MDF) and then affix it to the wall. This method offers more control over the artistic process and allows for easier transport of your masterpiece. Here's how to go about it:

  1. Select Your MDF Board:

    • Choose a high-quality MDF board that suits your desired size for the artwork.
  2. Prepare the Board:

    • Sand the MDF board to create a smooth surface for the resin application.
    • Prime the board with a suitable primer to enhance adhesion.
  3. Create Your Resin Art:

    • Pour and manipulate the resin on the MDF board, experimenting with colors and techniques.
    • Allow the resin to cure completely before moving forward.
  4. Mounting the Artwork:

    • Once the resin art on the MDF board is fully cured, use suitable adhesives or mounting hardware to affix it to the wall.
    • Ensure the wall surface is clean and dry before attaching the artwork.
  5. Finishing Touches:

    • Seal the edges of the MDF board to create a polished look.
    • Consider adding a clear topcoat to protect the resin artwork and enhance its longevity.

Conclusion:

Whether you choose to mix fillers with resin for a direct wall application or prefer the versatility of creating on MDF, resin art offers a myriad of possibilities to elevate your space. Experiment, express yourself, and turn your walls into a canvas that reflects your unique style. With a bit of creativity and these methods at your disposal, you can transform any room into a stunning masterpiece.


Leave a comment

Subscribe