Your Cart is Empty
Use Coupon '10ON10K' for 10% off on Orders Above Rs. 10,000

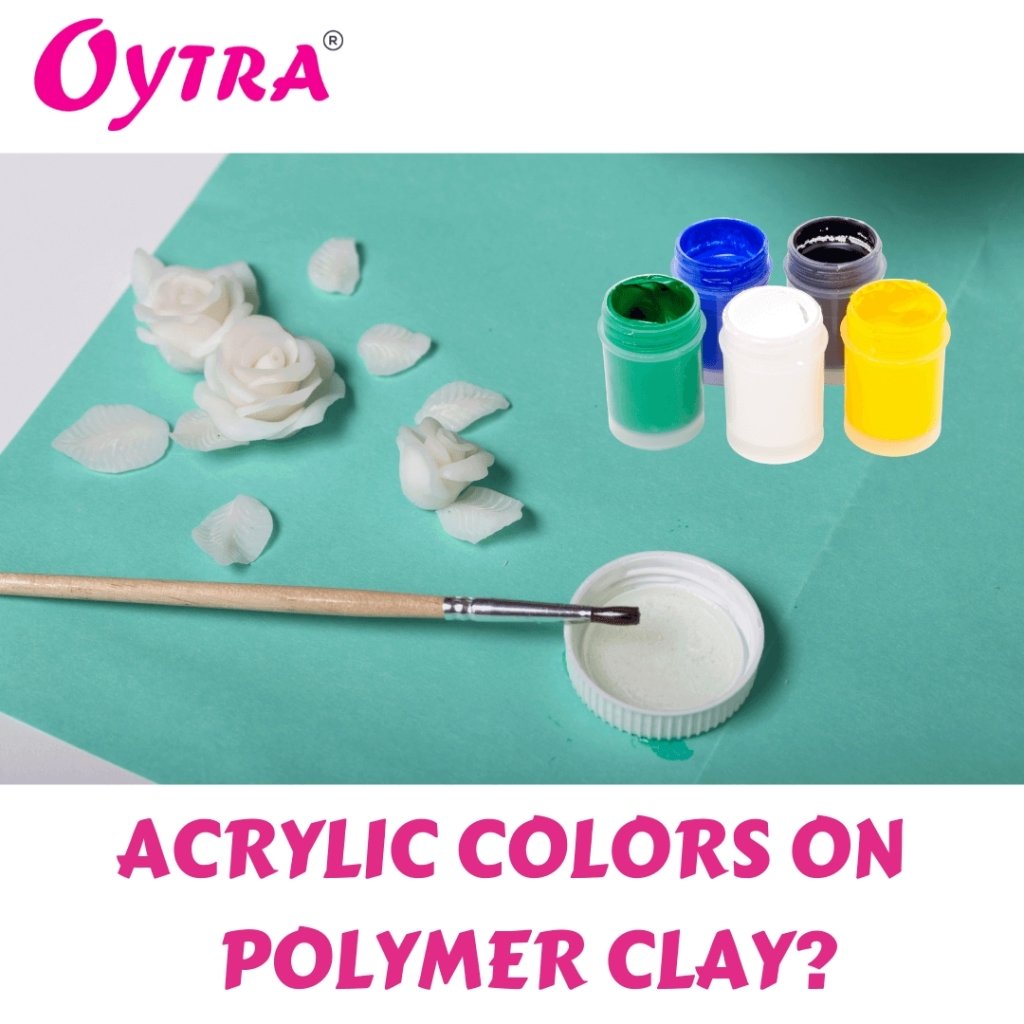
Are you looking for simple ways to apply Acrylic Colors on Polymer Clay? We will share a step by step tutorial with you to make the perfect project you need while using acrylic colours on Polymer Clay.
You will use two types of white Polymer clay - one thick one and another translucent type for layering, along with Yellow, Black and Red Acrylic colours for this project.
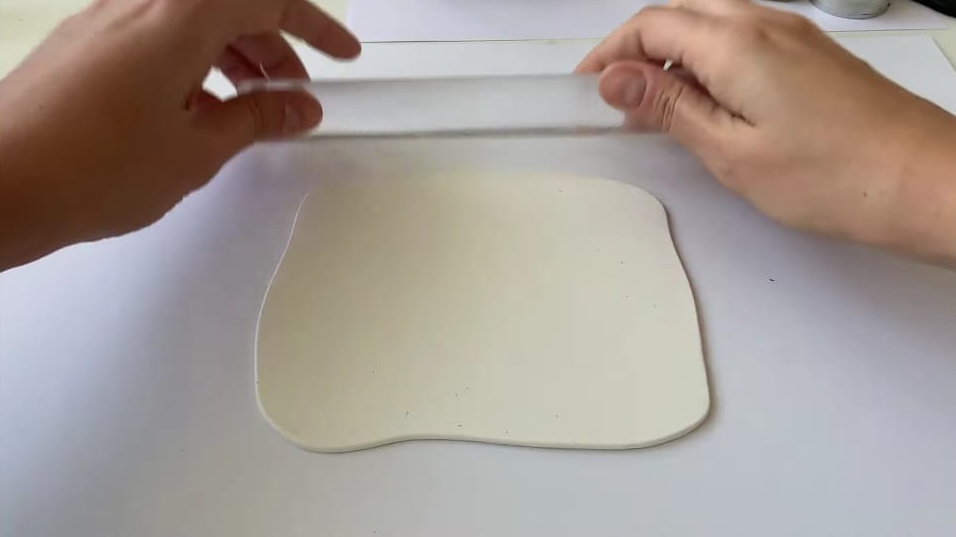
1) Start by cleaning the workstation surface to roll the thick white clay. You can also keep a blank white paper below your clay.
Begin rolling out the white clay evenly to a medium thickness level. You need to lift and rotate the clay as you roll so that it does not stick and you can get good consistency all around. Ensure there is no air bubble in the clay as you roll it out uniformly. You can do this faster if you have a pasta machine by keeping it in the thinnest setting.
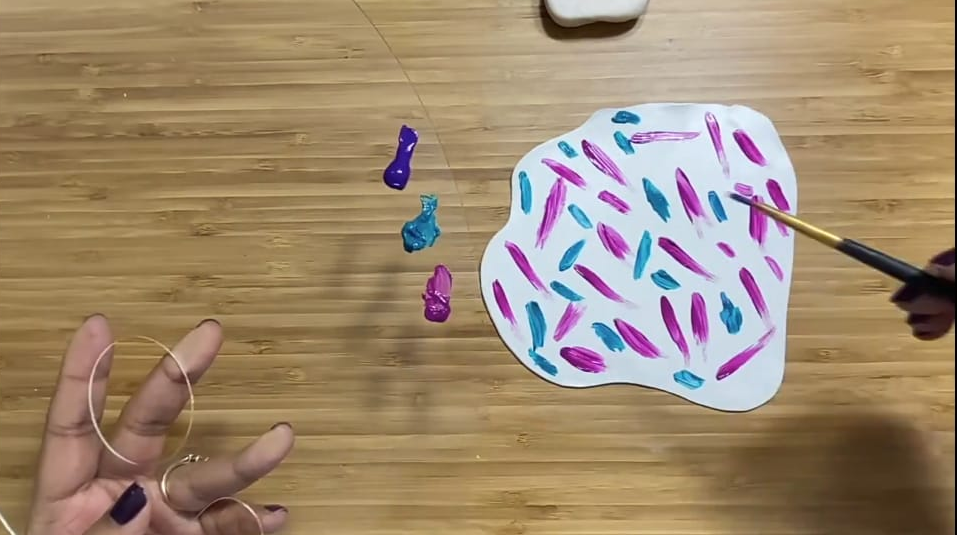
2) Next, take a little bit of the colours that you want to use on the palate to the side. Dip the brush in the colours and apply them gently as per your design on the clay.
Perform this step for all colours. On completion, leave the coloured clay piece to dry.
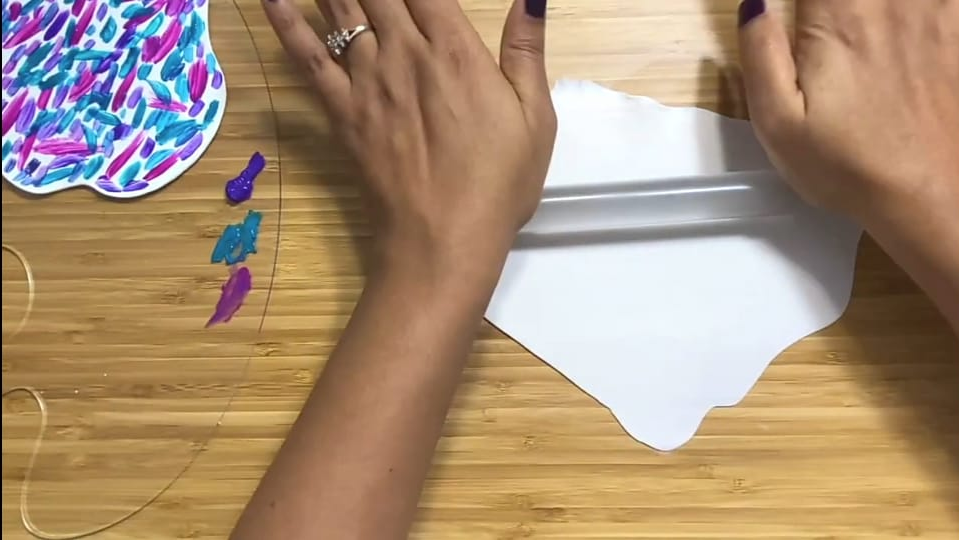
3) Now, start rolling the translucent clay to get a very thin level. You need to do this carefully to ensure no folds or bubbles as the translucent clay is rolled to a very thin level.
Rolling needs to be done until you can see through to the other side of the translucent polymer clay.
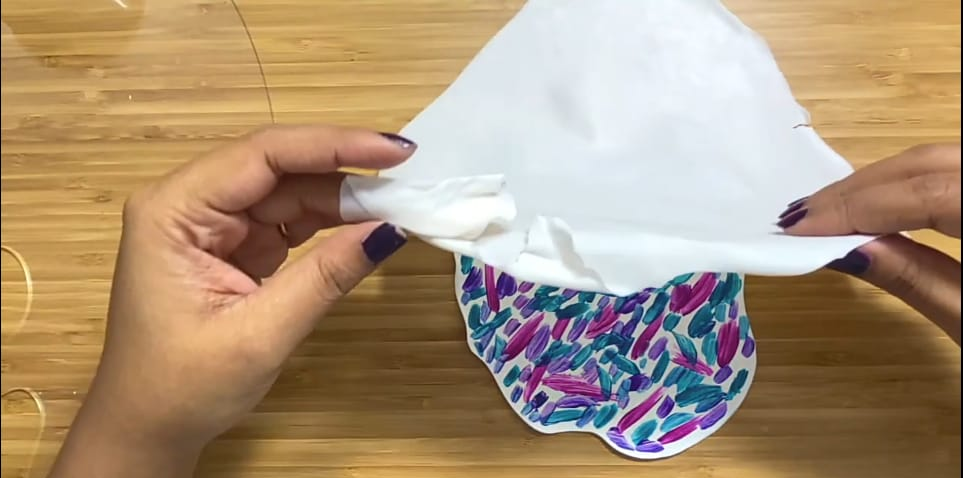
4) Bring the coloured clay piece and lay the thin translucent clay layer over it. Make sure to cover the entire coloured portion with the translucent clay.
Pat the translucent clay nicely so that it lays over correctly.
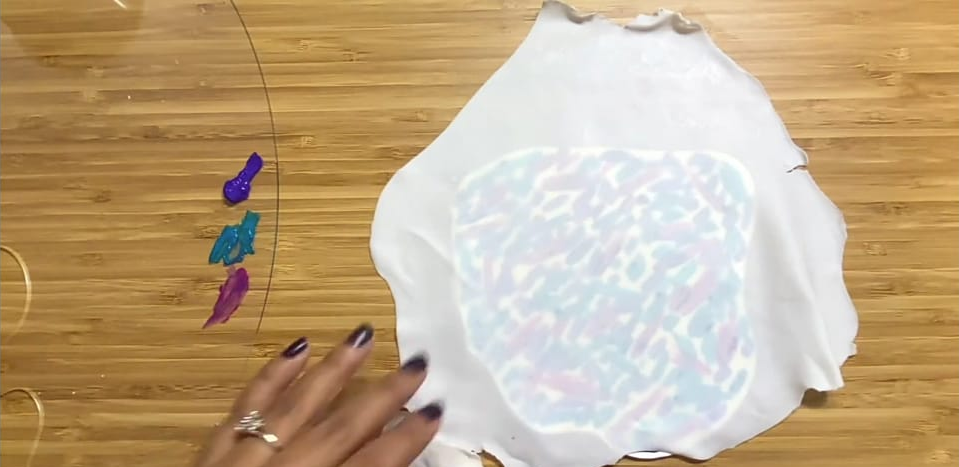
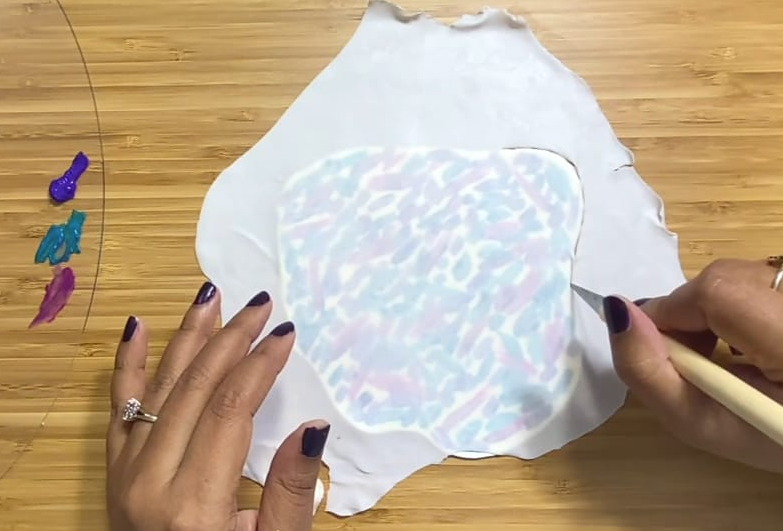
Now, cut along the edges to remove the extra bits of translucent clay using a cutter. You can use this leftover translucent clay as a base layer. Make sure there is no air bubble in this layer.
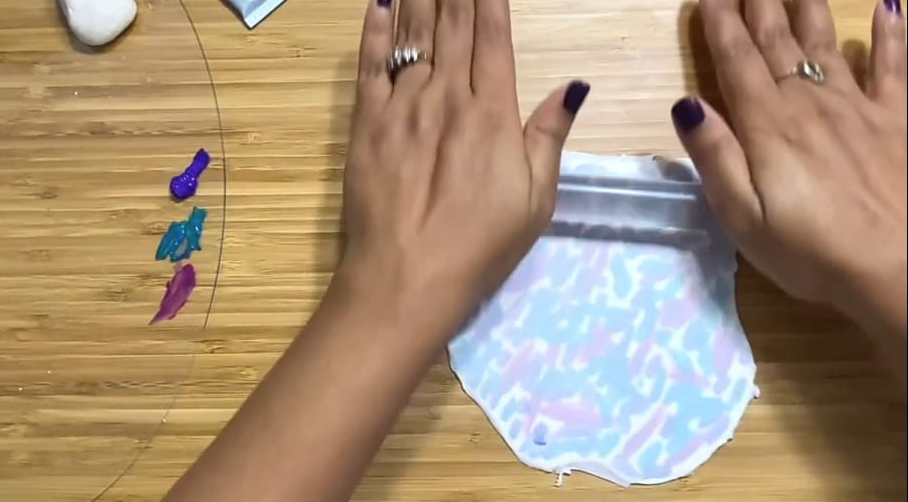
5) Now gently roll the pin along to spread the mixed layer evenly.
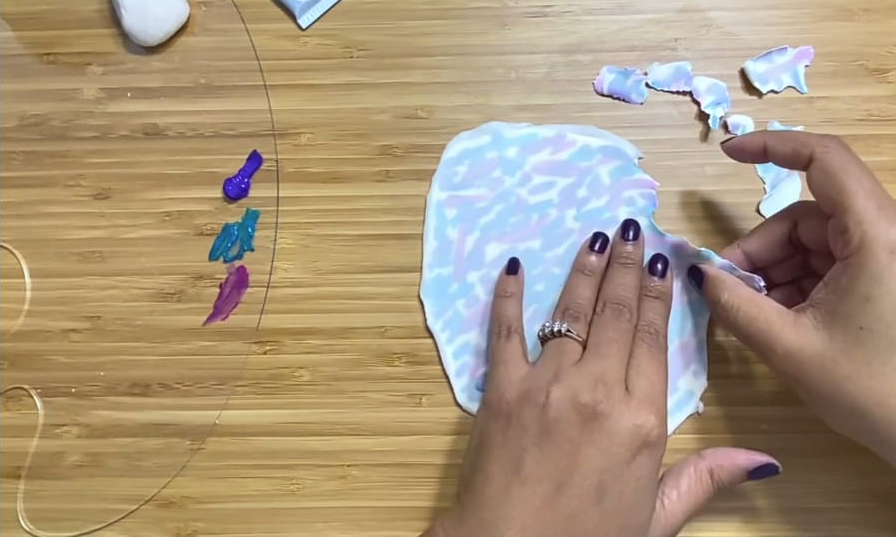
6) Once rolled, tear the layer into small pieces.
It would help to pull the entire clay piece into as many small or big pieces as possible.
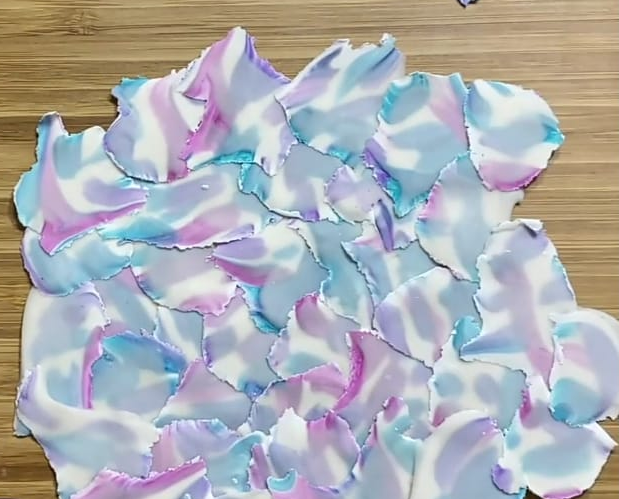
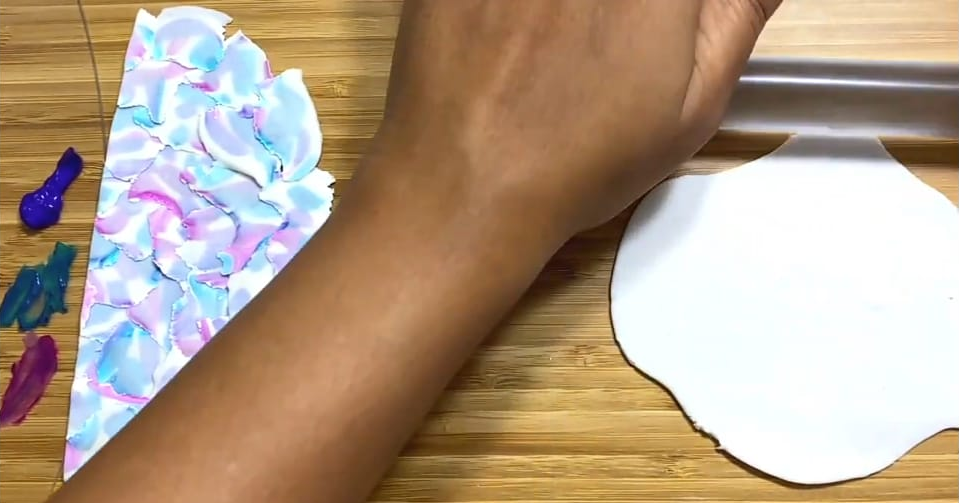
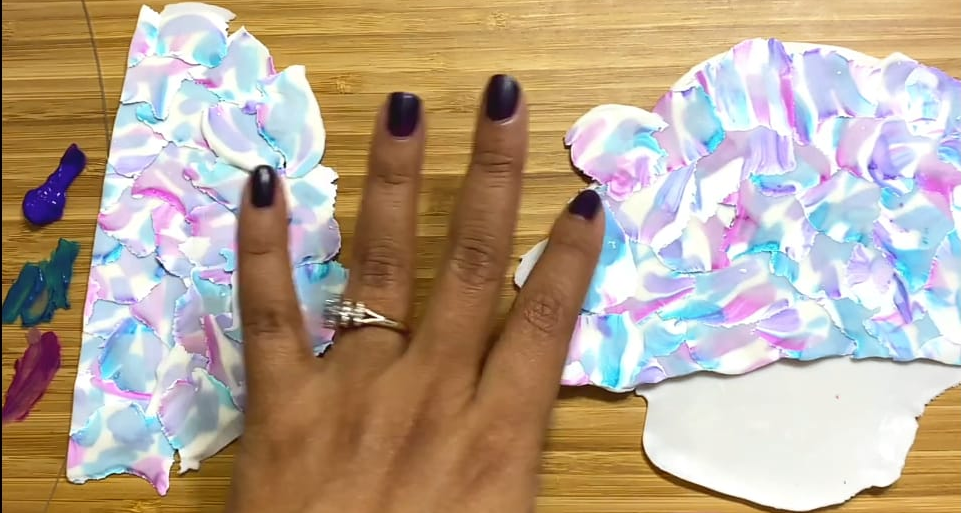
7) Now, arrange the broken pieces to a circular pattern by overlapping them with each other so that they stick well. Continue this process till all the torn pieces are rearranged together.
8) Once the torn pieces are arranged together, you can use them as is too for your projects to get that texture.
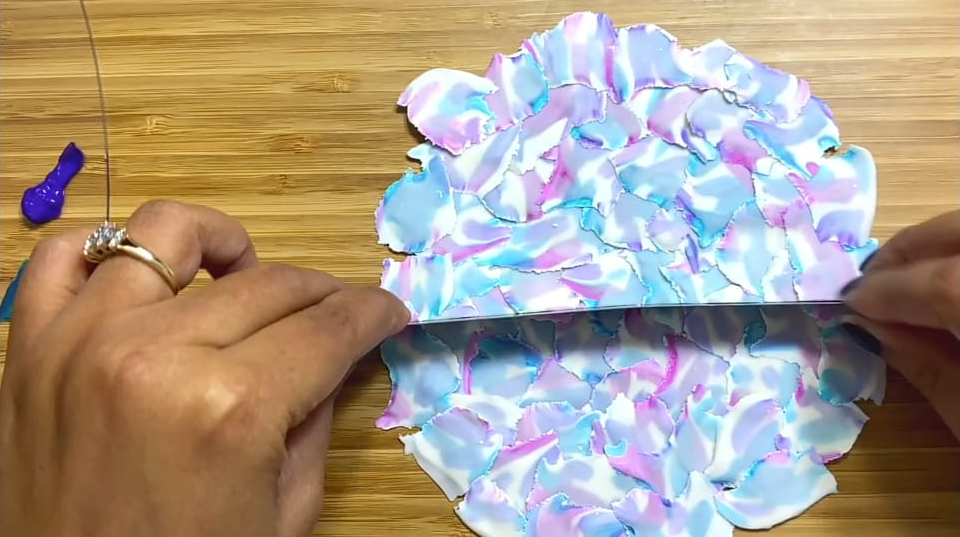
9) You can also roll out the arrangement entirely to get a different effect from all sides or use a half-half combination for your projects.
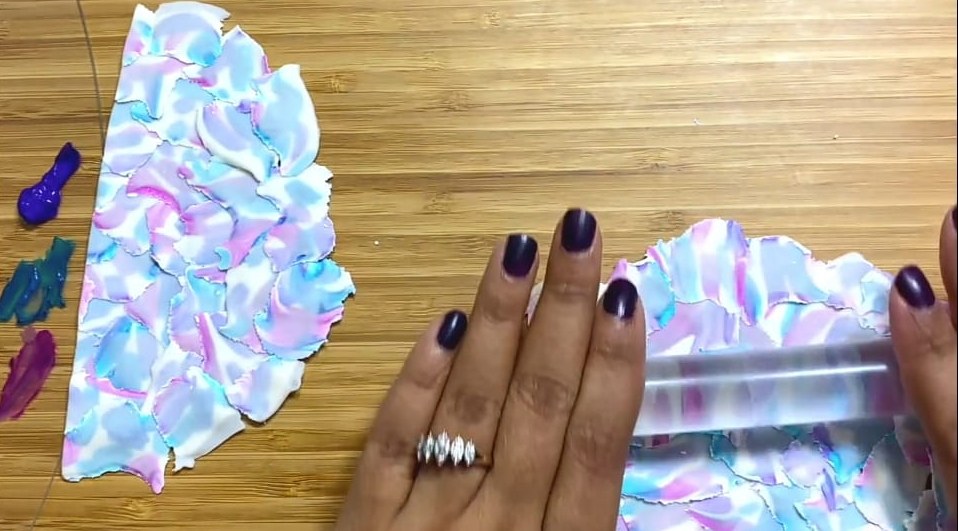
10) To give a little firm base, use the leftover translucent clay. Roll that out as per the size of your mixed-layer clay.
Lay the coloured clay on this base and give it a gentle roll. You are now good to use this coloured clay in your projects.
With colours, the possibilities are endless. Give this tutorial a try and make any patterns based on your creativity.

d0054z
Chhaya
October 14, 2023
I like oytra products